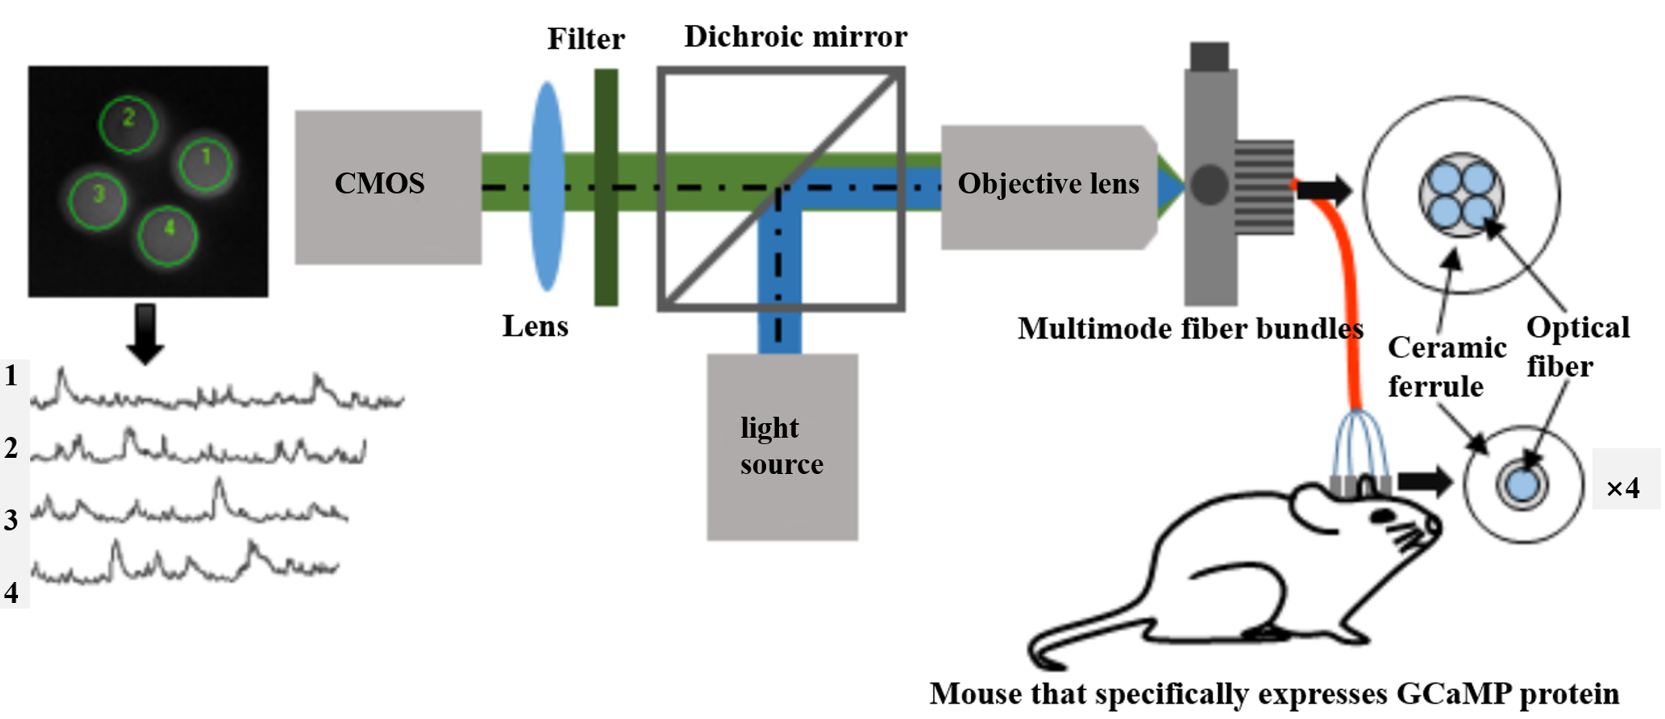
Calcium ions play an integral role in neuron function. They act as intracellular signals that can elicit responses such as altered gene expression and neurotransmitter release from synaptic vesicles. Within the cell, calcium concentration is highly dynamic due to the presence of pumps that selectively transport these ions in response to a variety of signals. Calcium imaging takes advantage of intracellular calcium flux to directly visualize calcium signaling in living neurons. This is a protocol of calcium imaging experiment using Ca
2+ indicator Fura-2. Specific experimental process is as follows. Please note that concentration of Fura-2-AM may need to be optimized depending on cell types to be measured. The following protocols are designed for HEK293 cells.
Prepare the cells
● Autoclaved coverslips or multi-well coverglass chambers are used for culturing cells. Coat the coverslips with 0.01 % poly-L-lysine (dilute the 0.1% stock as 1:10 with sterilized water) at RT for 10 min and washed three times with sterilized PBS.
● Plate HEK293 cells on coverslips 24 h before Ca
2+ imaging. If cells need to be transfected with GFP reporter, seed cells 48 h before Ca
2+ imaging and transfect cells 24 h after seeding. For coverslips in 6-well plates, 0.2-0.5 millions of cells should be seeded to each well. Numbers of the cells to be seeded can be adjusted according to the size of plate/chamber used.
Load the cells
● Wash cells with Ca
2+ recording buffer twice at RT, 5 min each.
● Dissolve the cell-permeant acetoxymethyl ester of the calcium indicator Fura-2 (Fura-2AM, 50 μg/vial) in 50 μl of DMSO and then dilute into Ca
2+ recording buffer.
● Load HEK293 cells with 1 μg/ml Fura-2-AM at RT for 30 min (Fura-2-AM can be used for up to 5 μg/ml for different types of cells). Wash cells twice with recording buffer, 5 min each time.
Prepare perfusion system (Smartsquirt small volume delivery system)
Turn on the nitrogen tank with pressure up to 10 psi-20 psi. Turn on vacuum pump. Wash the buffer reservoir. Adjust the pressure regulator to reach a 2 ml/min flow speed. Load the buffer reservoir with Ca
2+ recording buffer.
Load coverslips onto microscopy
Place the coverslip in a perfusion chamber and load with 0.5 ml of Ca
2+ recording buffer. Turn on the Zeiss inverted microscopy and mount the perfusion chamber on the stage of microscopy. Use 40x oil emersion lens. Turn on the power of Zeiss FluorArc mercury lamp, and turn the filter to “Fura-2” which will collect the emission response at 510 nm.
IPlab software
● Turn on the camera connecting to microscopy. In IPlab, click the ratiometric icon and set the parameters: total time points,Interval time (typically 1-10 sec),exposure time for 340 nm (typically 100 ms) and exposure time for 340 nm (typically 20 ms). Parameters can be adjusted according to experiment design and cells to be measured.
● Click the “W1” icon to expose cells to 340 nm,adjust the focus plane to get the best image and adjust the exposure time to control the intensity to around 1,000 (the maxi value is 4,999). Click the “W2” icon to expose cells to 380 nm and adjust the exposure time to control the intensity to around 1,000 (the maxi value is 4,999).
● Select the individual cells to be measured as well as the background region. Multiple cells can be selected in each field. Start recording, image will be acquired by exciting the cells at 340 nm and 380 nm every 3 sec. The ratios of 340/380 nm indicate the intracellular Ca
2+ concentration.
Export data to excel
In IPlab, open the ratio-plot file, from “view” - “new” - “text”, export data as excel files.
Reference
Feng M. Calcium Imaging[J]. BIO-PROTOCOL, 2012, 2(7).
If you have any questions,please email us at
sales@brainvta.com.
